Overview
DoorSplit helps you sell tickets, run the door, and split payouts—whether you are a venue, band, promoter, or volunteer at the entrance.
Use the menu on the left (or the drop-down on your phone) to jump to any topic. Organizers should start with . Door staff should open .
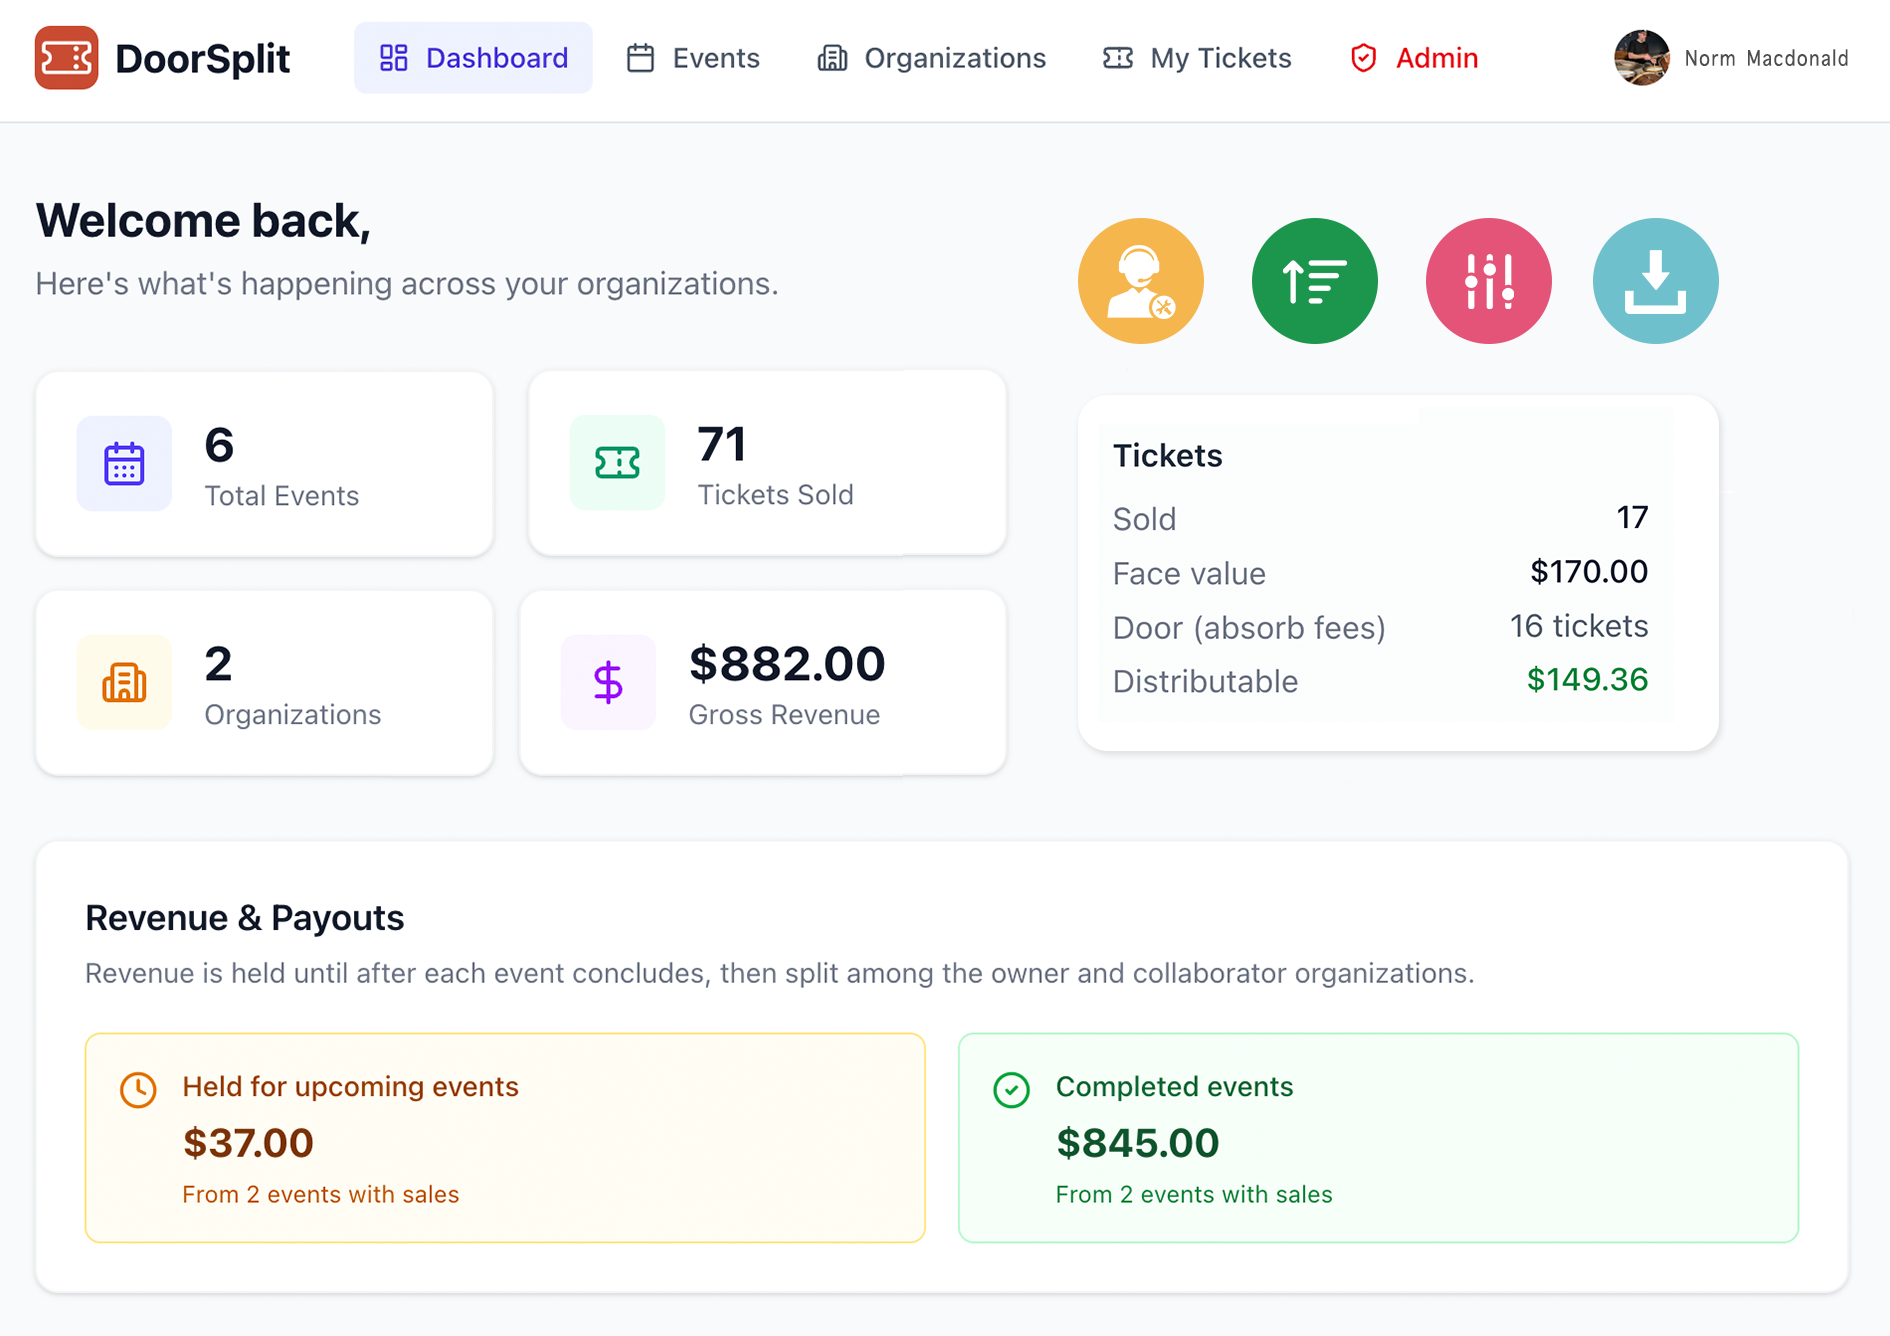
For organizers: Getting started
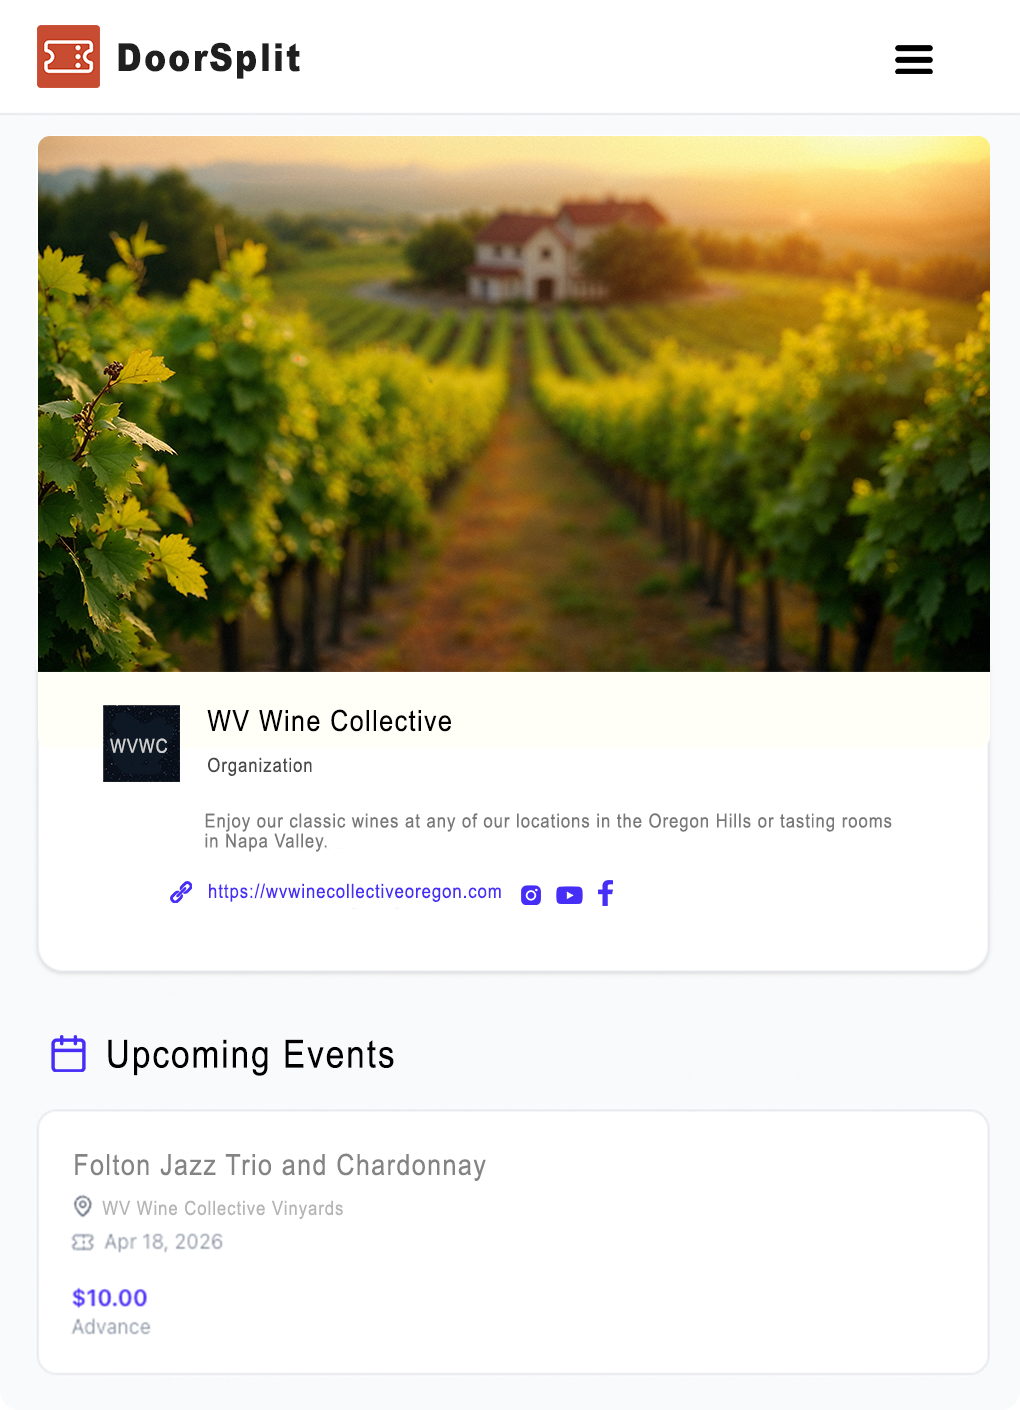
Create a free account, then create your organization (band, venue, promoter, or other). Add a logo and hero image if you like—they show on your public pages and widgets.
Invite teammates from your organization settings so everyone who needs access can help manage events.
Connect a bank account through our secure partner (Stripe) so you can receive payouts after your events. You only need to do this once per organization.
For organizers: Create with AI
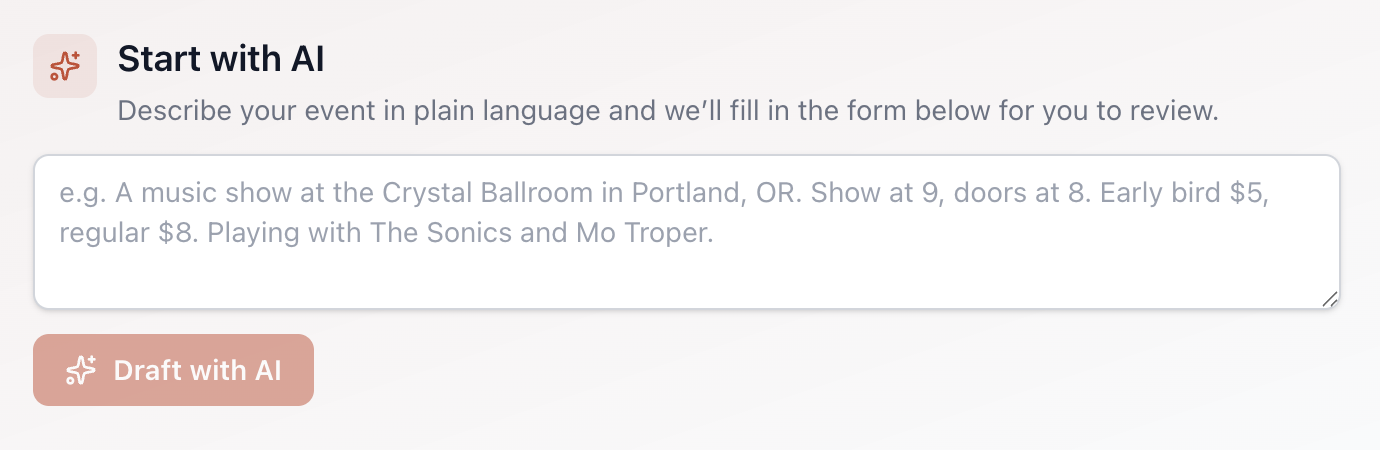
In a hurry, or not sure where to start? On the create-event page, use Start with AI. Describe your event in plain language — the venue, when doors open and the show starts, your ticket prices, and who's on the bill — and DoorSplit drafts the event for you.
The assistant fills in the name, venue, date, door and show times, a tidy description, and your pricing tiers. It also shows what it assumed and flags anything it still needs (like a date it couldn't find). Nothing is created automatically — you review and edit every field, then publish when it looks right.
For organizers: Events & pricing
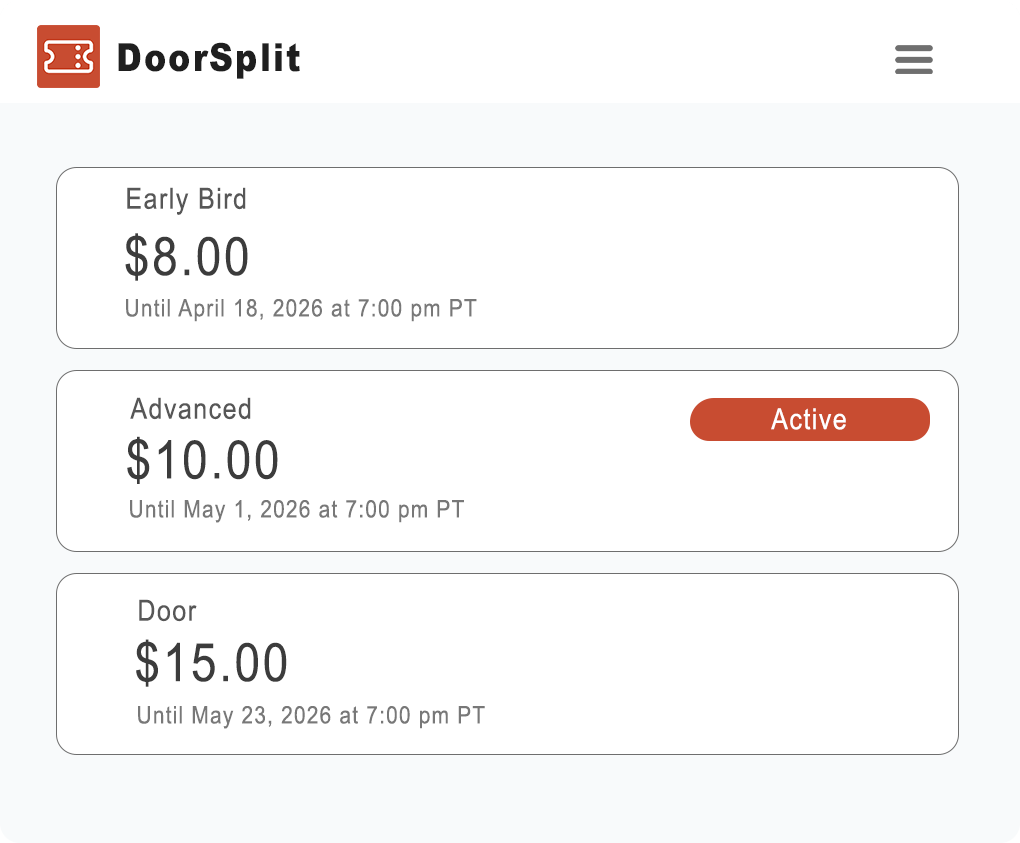
Create an event with a name, description, poster, venue, and date and time. Set your ticket price using up to three tiers— for example early bird, advance, and door—or use a single price for the whole run.
Each tier can have an end date; when that date passes, the price automatically moves to the next tier. That way fans are always charged the right amount without you updating the event manually.
For organizers: Collaborators & revenue splits
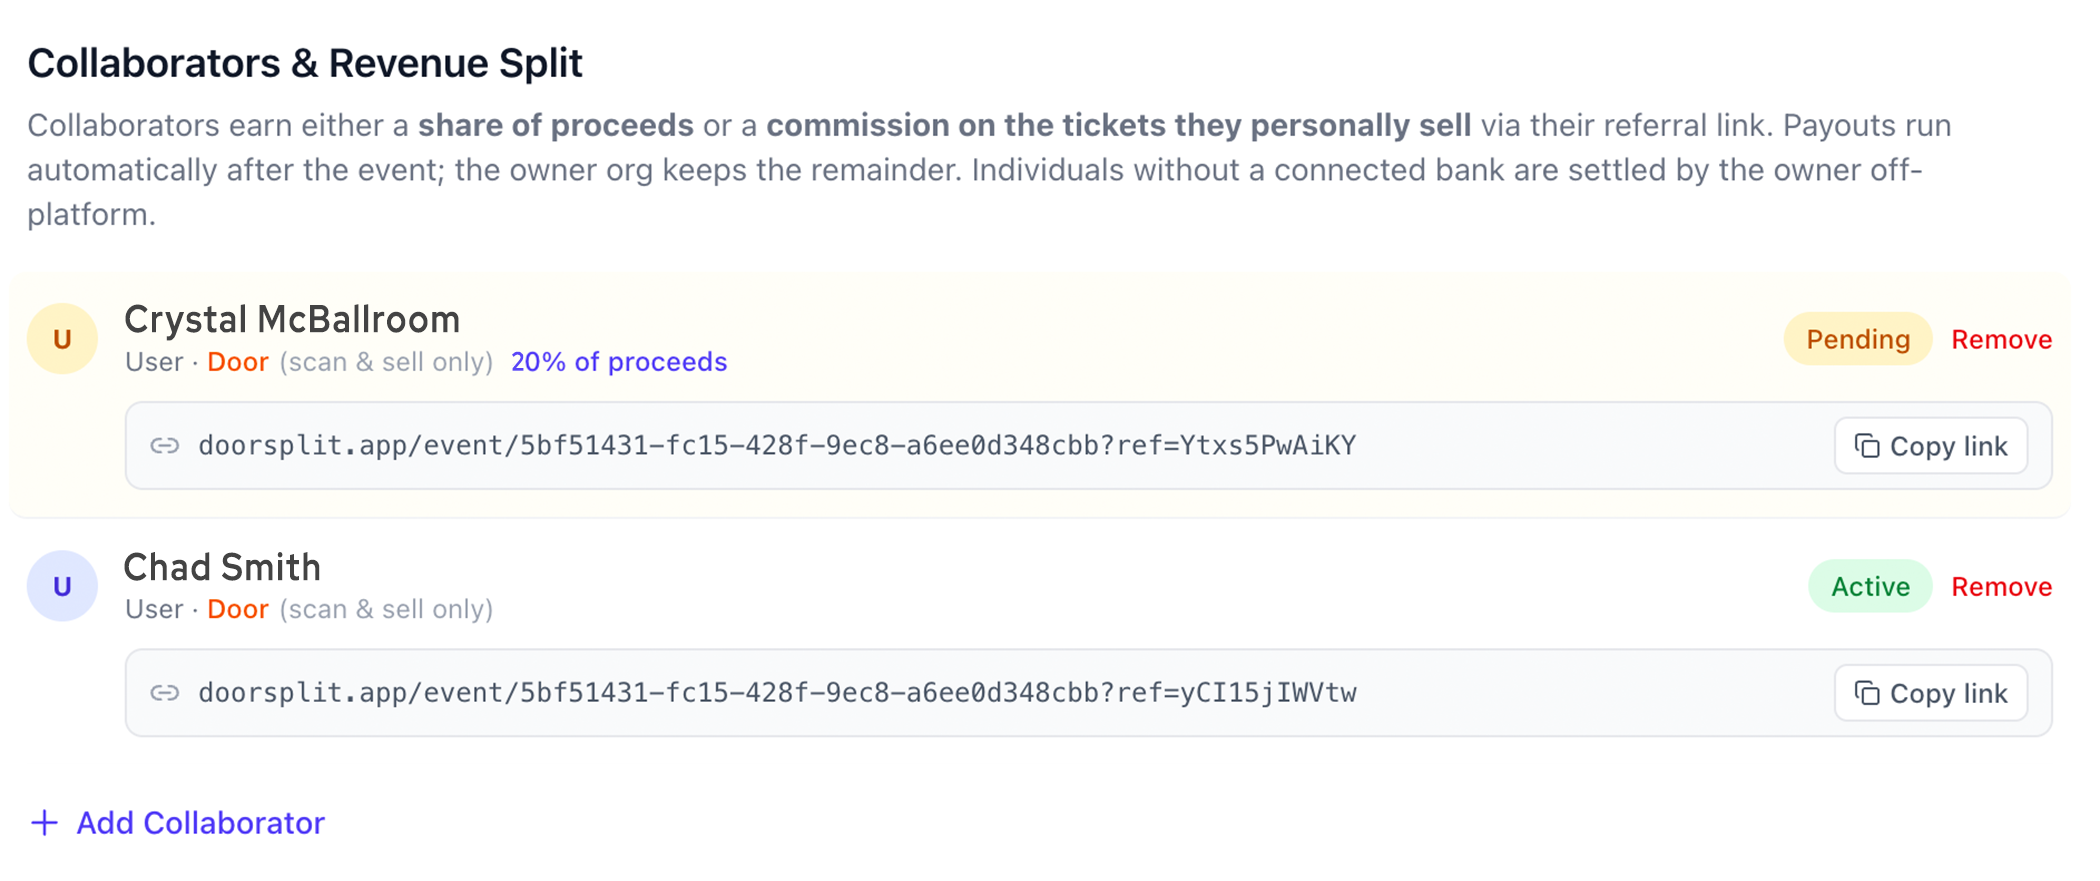
Invite other organizations (another band on the bill, the venue, a promoter) or individual people (such as someone working the door) as collaborators on an event.
Each collaborator can be paid in one of two ways—you choose per collaborator:
- Share of proceeds— a percentage of the event's ticket revenue (after any commissions). The sum of proceeds shares can't exceed 100%; the owner keeps whatever is left.
- Commission on tickets sold — a percentage of only the tickets that collaborator personally sells through their referral link. Two people can each earn, say, 25% of their own sales without competing for the same pot.
You can mix both models on one event. Commissions are paid first, then the remainder is split among proceeds collaborators, and the owner org receives the rest plus 100% of any album sales.
Referral links
Every collaborator automatically gets a unique referral link for the event (shown on their row in the collaborators list, with a Copy linkbutton). When a fan buys after clicking that link, the sale is credited to that collaborator—so it counts toward their commission and shows up in the event's revenue report.
Collaborators can share their link anywhere: text, social, email, or a printed QR code. Door staff selling in the app are credited automatically—no link needed.
Individuals without a connected bank account are shown as owed offline: DoorSplit tracks exactly what they earned so the owner can pay them directly.
For organizers: Website & widgets
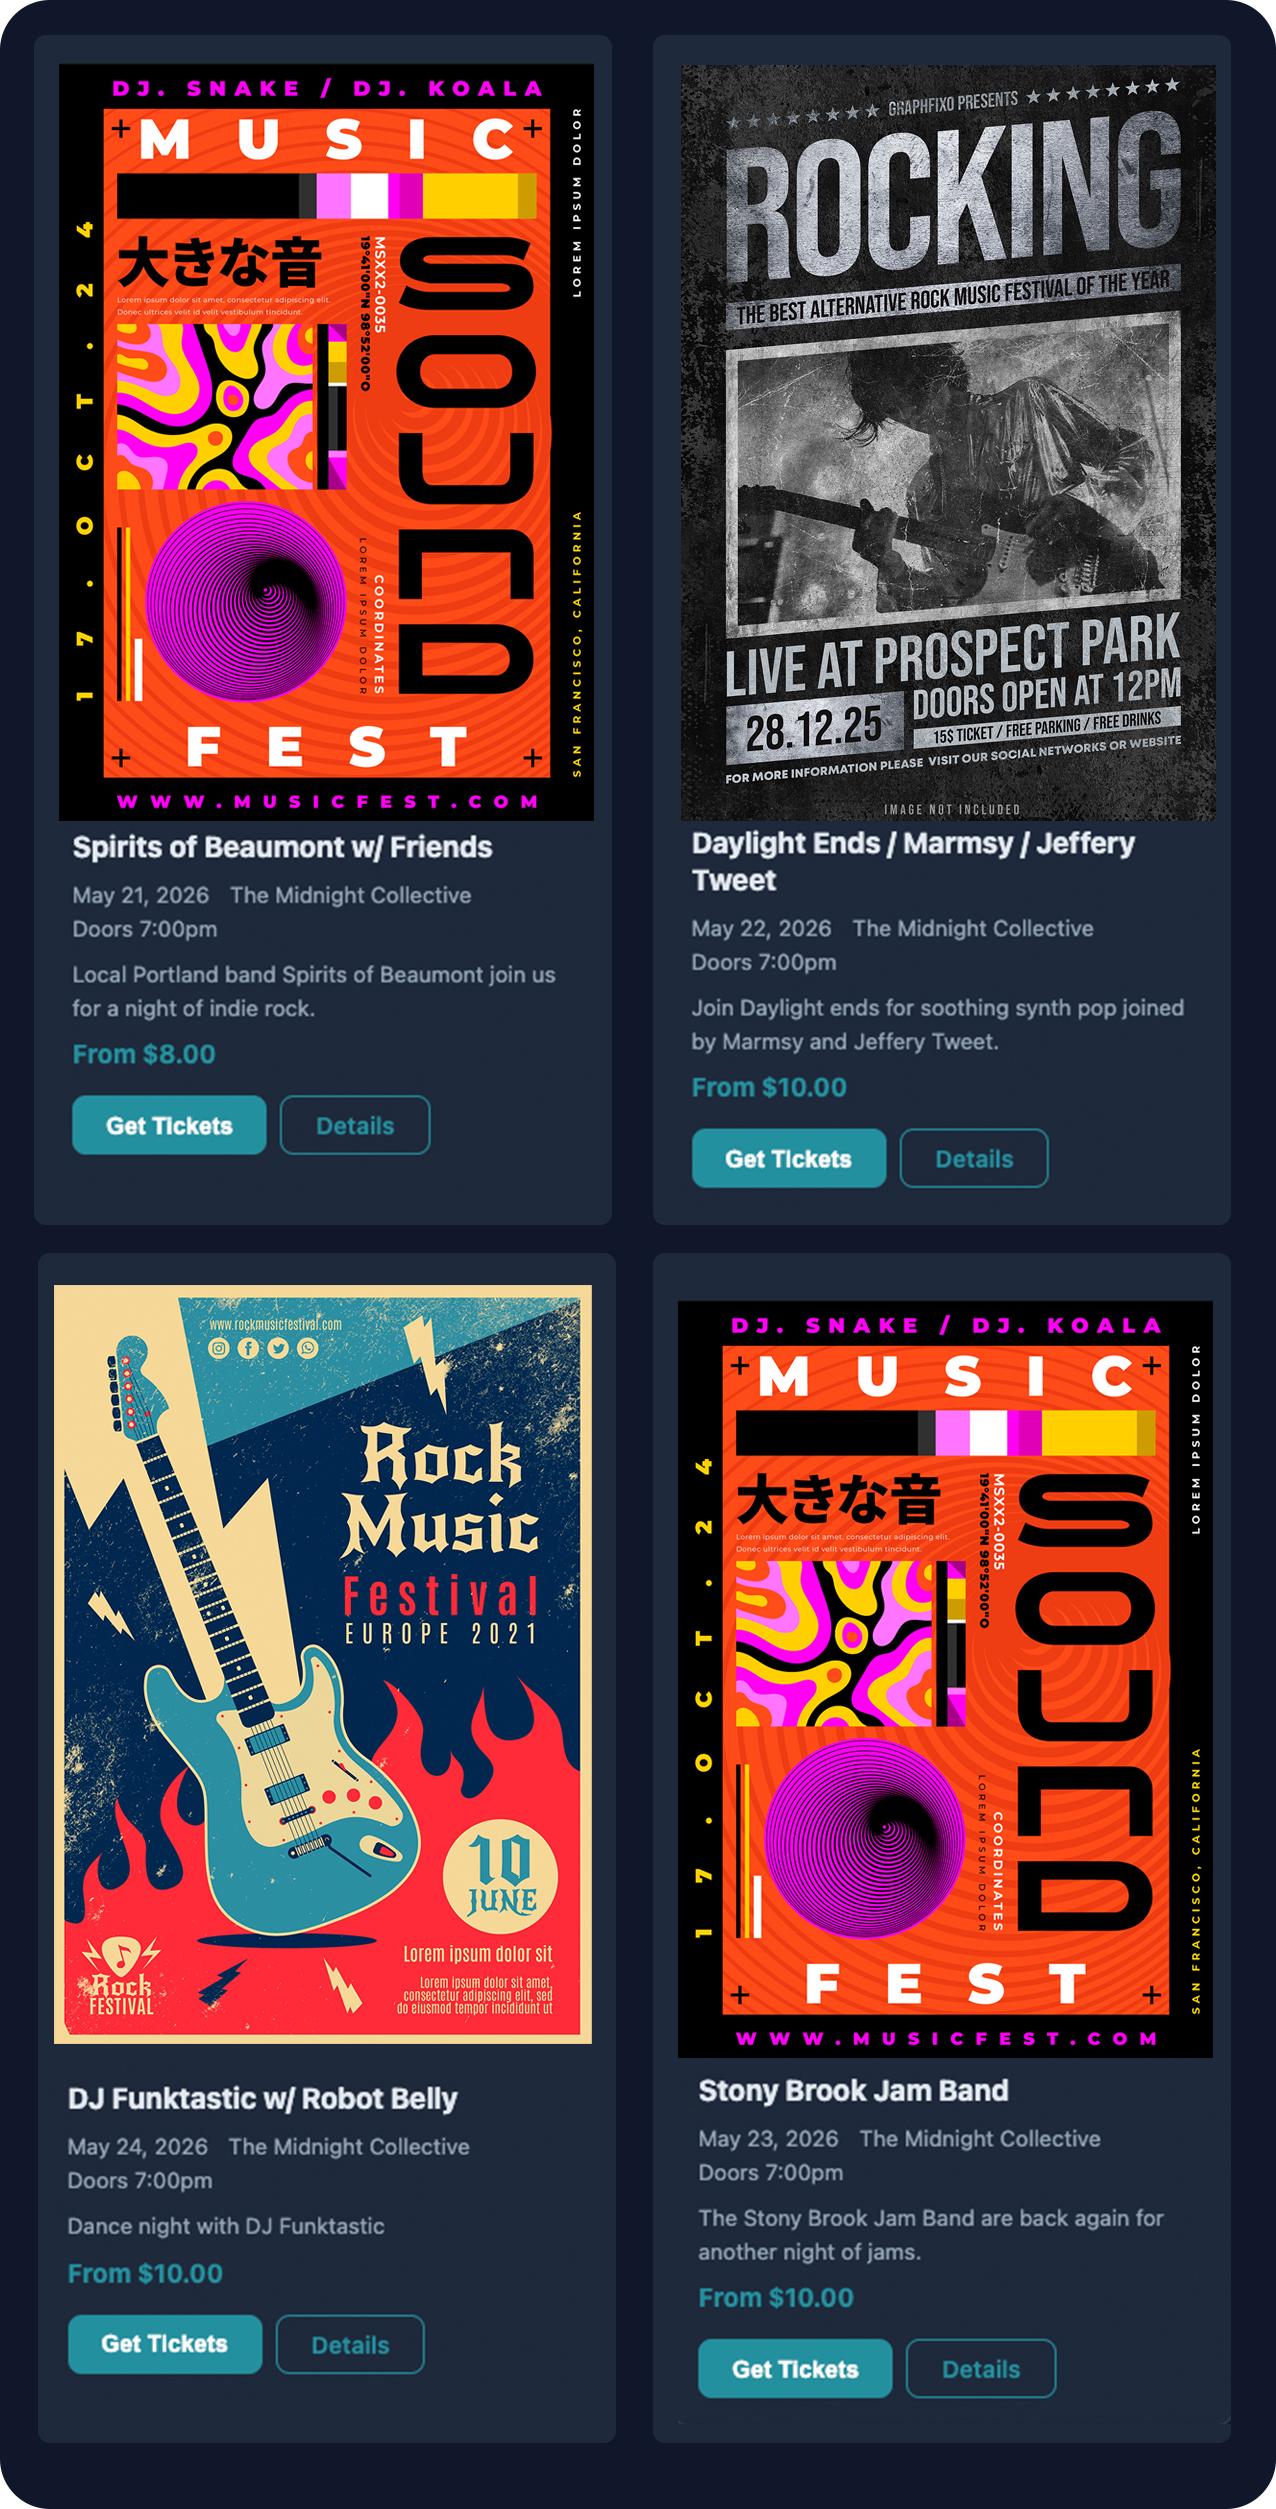
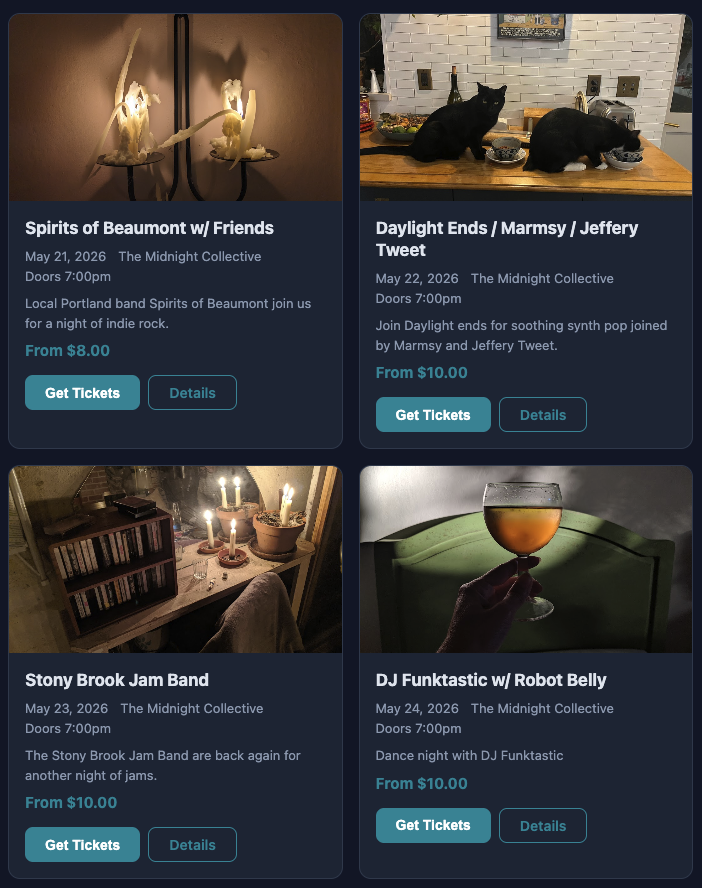
From your event admin area you can create up to three widget layouts—pick a style, theme, and colors that match your site. Copy the snippet and paste it where you want events to appear.
Official WordPress and Drupal modules are available if you prefer to build from your CMS. The widget works on any normal website that allows HTML and JavaScript.
Developers can also use the API documentation for custom integrations.
For organizers: How fans buy tickets
Share a link to your event page—it works great on phones. Fans can buy one or more tickets in a few taps. They receive tickets by email and can add them to Apple Wallet when available.
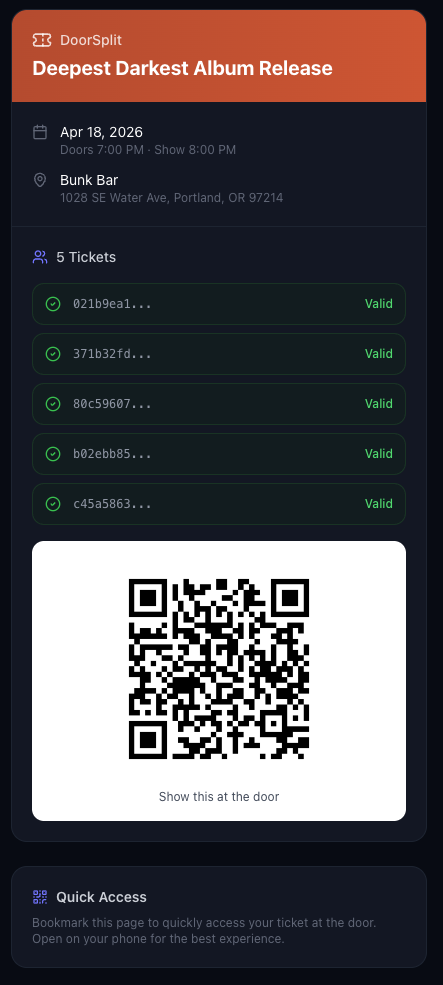
Group tickets share one QR code, so a group can arrive at different times and still use the same code.
You can also create a static door QR so people at the venue can pay without a long line at the box office—the door person can still scan or sell from their device as a backup.
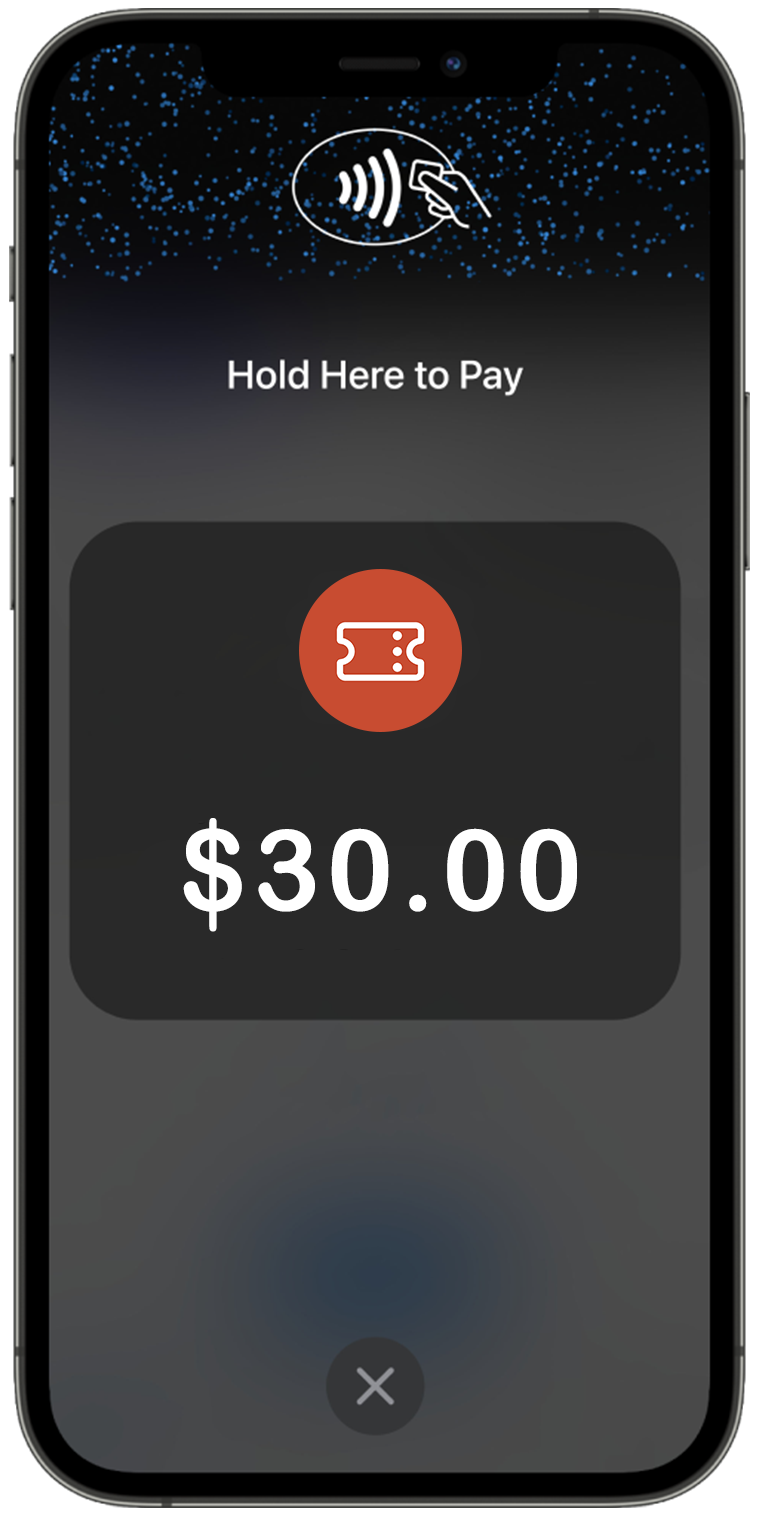
Payment options adapt to each buyer's device: Apple Pay and Google Pay when available, then other fast options, with card entry as a fallback. At the door, compatible devices can accept contactless tap-to-pay for an even quicker checkout.
For organizers: Guest passes
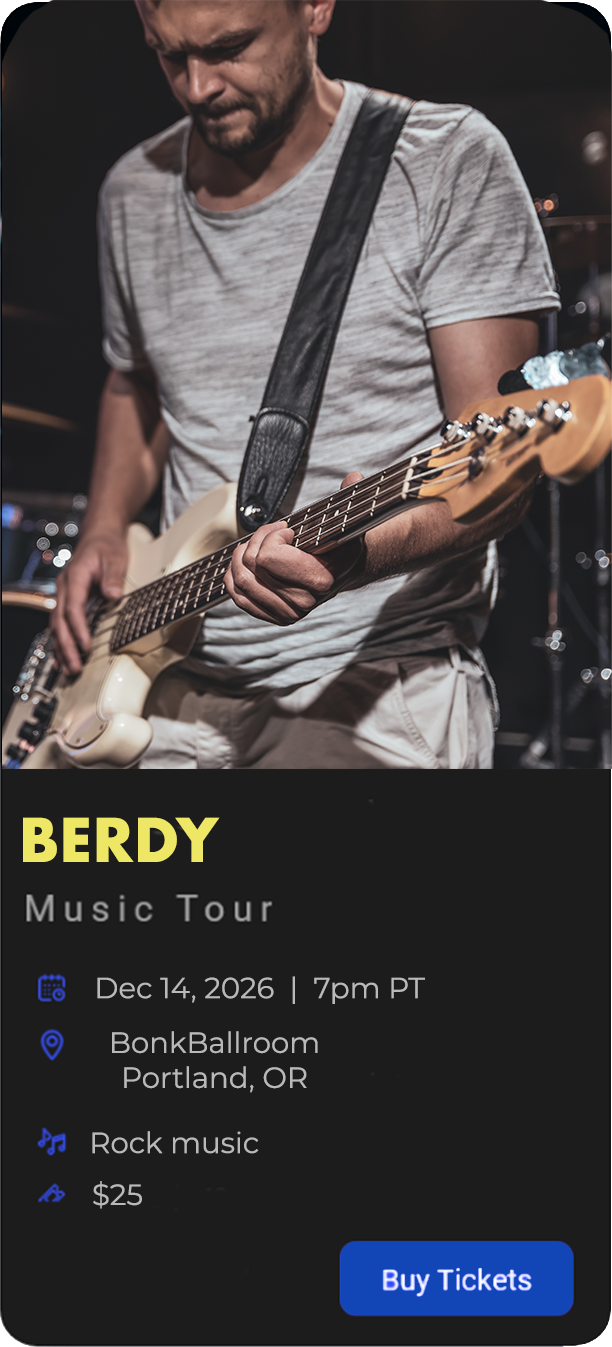
Each event can include a limited number of guest passes. Collaborators can send them to friends, press, or crew. The guest receives a normal ticket by email that scans like any other ticket at the door.
For organizers: Bandcamp album downloads
Upload Bandcamp download codes to sell alongside tickets. You can offer a discount when someone buys a ticket, or allow album-only purchases for people who are already at the show.
For organizers: Payouts after the show
When an event is marked complete, DoorSplit splits revenue according to your collaborator percentages. Payouts typically finish within a few business days, depending on bank and card network timing.
Cash sales at the doorare tracked in your reports so you know how many tickets moved and for how much, but that money stays with you in person—it is not run through the card network. Your revenue view shows each party's cash share so you can settle up offline.
Donation campaigns: what they are
A donation campaign is an event with the show taken out. It has a name, a description, and an image, but no date, venue, door time, capacity, or ticket price. Supporters decide how much to give, and instead of a ticket they get a thank-you email.
Use one when the money isn't tied to a night out: a general fundraising drive, a tip jar for your band, a memorial fund, gear or studio costs, or a nonprofit's ongoing appeal.
Everything else behaves like a normal event. It lives in the same events list, has its own public page, can be embedded on your website with the same widget, and splits revenue using the same collaborator percentages.
A campaign has no end date unless you give it one, so it can keep collecting indefinitely — which is why payouts work a little differently. See releasing donations.
Donation campaigns: creating one
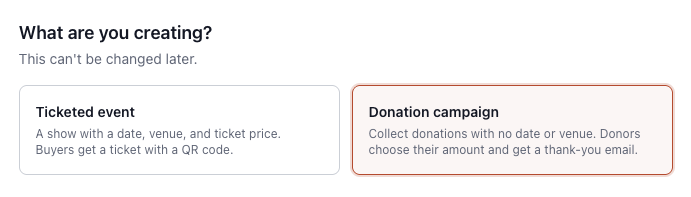
Choose New event, then pick Donation campaign instead of ticketed event at the top of the form. The venue, schedule, pricing, and capacity sections disappear, and donation settings take their place.
You'll be asked for:
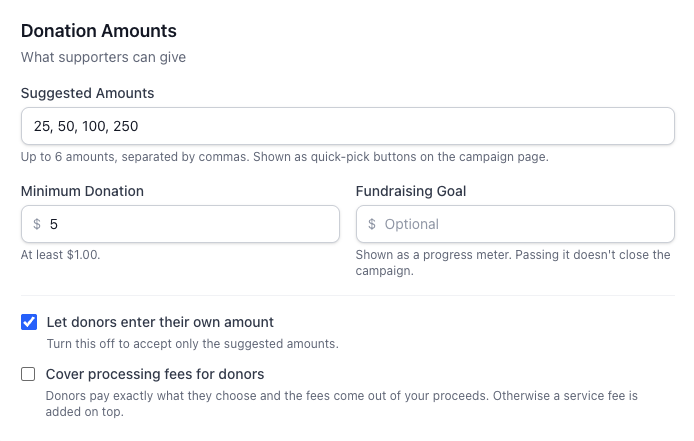
- Suggested amounts — the quick-pick buttons supporters see, up to six of them. Most campaigns do well with three or four.
- Custom amounts — leave this on to let people type any figure. Turn it off to accept only your suggested amounts.
- Minimum donation— the smallest gift you'll accept. Card fees make very small donations uneconomical, so this can't go below $1.
- Fundraising goal— optional. When set, the public page shows a progress bar. It's presentational only; passing the goal doesn't close the campaign.
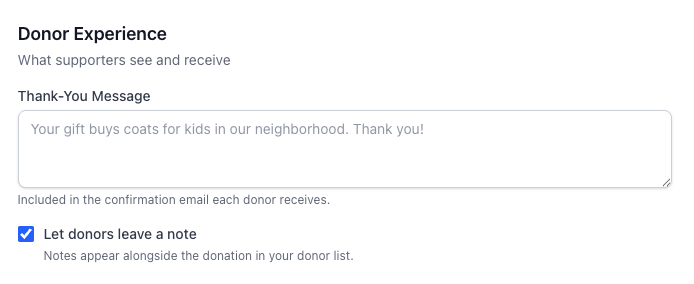
- Thank-you message — optional, included in the email each donor receives.
- Donor messages — whether supporters can leave a note with their gift.
- Cover the fees — when on, the donor is charged exactly what they chose and the processing fee comes out of your proceeds. When off, the fee is added on top of their donation.
- End date — optional. If you set one, the campaign closes itself on that date and pays out.
Like any event, a campaign starts as a draft. Publish it when you're ready to accept donations. You can change the amounts, goal, and messaging later, but you can't convert a campaign into a ticketed event or the other way around — create a new one instead.
Donation campaigns: sharing yours
Once a campaign is published it has its own public page, and that page is the whole product for a fundraiser — it's where the progress meter, your ask, and the donate button live.
Open the campaign from Events and look just under the title: the public donation page link sits there with a Copy link button and a Previewbutton. Copy it into an email, a newsletter, your website, or a social post. You don't need a public event directory to find its address.
For anything printed, scroll down to Shareable QR Code and generate one. The Download Printable PDF button gives you a letter-sized sheet with the code, your campaign name, and your goal — ready for a merch table, a flyer, a poster, or the back of a program. Supporters point a phone at it and land on a donation screen built for mobile: tap an amount, tap donate, pay with Apple Pay, Google Pay, or a card. No app, no account, no typing a URL.
Every collaborator also gets their own referral link from the collaborators list. Those links point at the same campaign but credit the donation to that person, which is how you tell who actually brought the money in.
Donation campaigns: splitting what you raise
Collaborators work exactly as they do on a ticketed event: add an organization or a person, give them a percentage, and they're paid that share of every donation when you release funds.
Campaigns also unlock a role built for this situation: collaborator. It grants a revenue share and nothing else— no access to open, edit, or manage the campaign, and nothing to scan since there's no door. Use it for a partner charity, a co-beneficiary, or anyone who should receive money without touching your setup.
The other roles still exist if you need them. Give someone manager or admin only when they genuinely need to work on the campaign itself.
As with shows, an individual who hasn't connected a bank account shows as owed offline: DoorSplit tracks exactly what they're due so you can pay them directly.
Donation campaigns: releasing donations
A ticketed event pays out once, after the show. A campaign has no natural end, so its payouts repeat. Each run settles only the donations that have arrived since the last one, so money is never paid twice and never stranded.
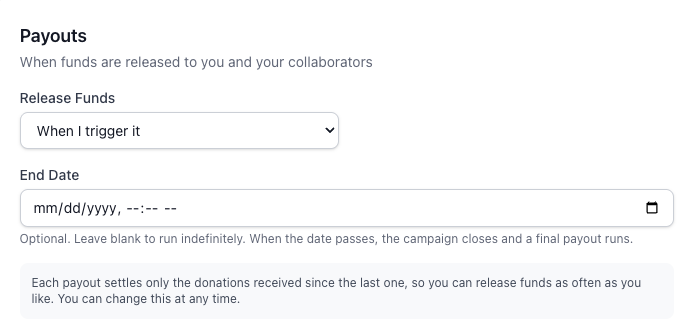
Pick how it should work when you create the campaign:
- Manual — nothing moves until you press Release nowon the campaign page. Best when donations trickle in and you'd rather batch them.
- Scheduled— funds go out automatically every week, two weeks, or month. Best for a long-running appeal you don't want to babysit.
- When the campaign completes — one payout when you close it, or when the end date passes. Best for a drive with a clear finish.
Whichever you choose, Release now is always available if you need the money sooner. The campaign page shows how much is waiting and how many donations it covers before you press it.
If a release finds nothing new, it tells you so and does nothing — pressing it twice is harmless.
For door staff: Getting started
The event organizer sends you an invitation email for that specific event. Open the link, sign in (or create your account), set your name if prompted, and you'll get access to scan and sell.
On supported phones you can install the native app for contactless (tap-to-pay) sales. If you only need scan and standard card/QR sales, the web app may be enough—ask your organizer what they expect at the door.
For door staff: Scanning tickets
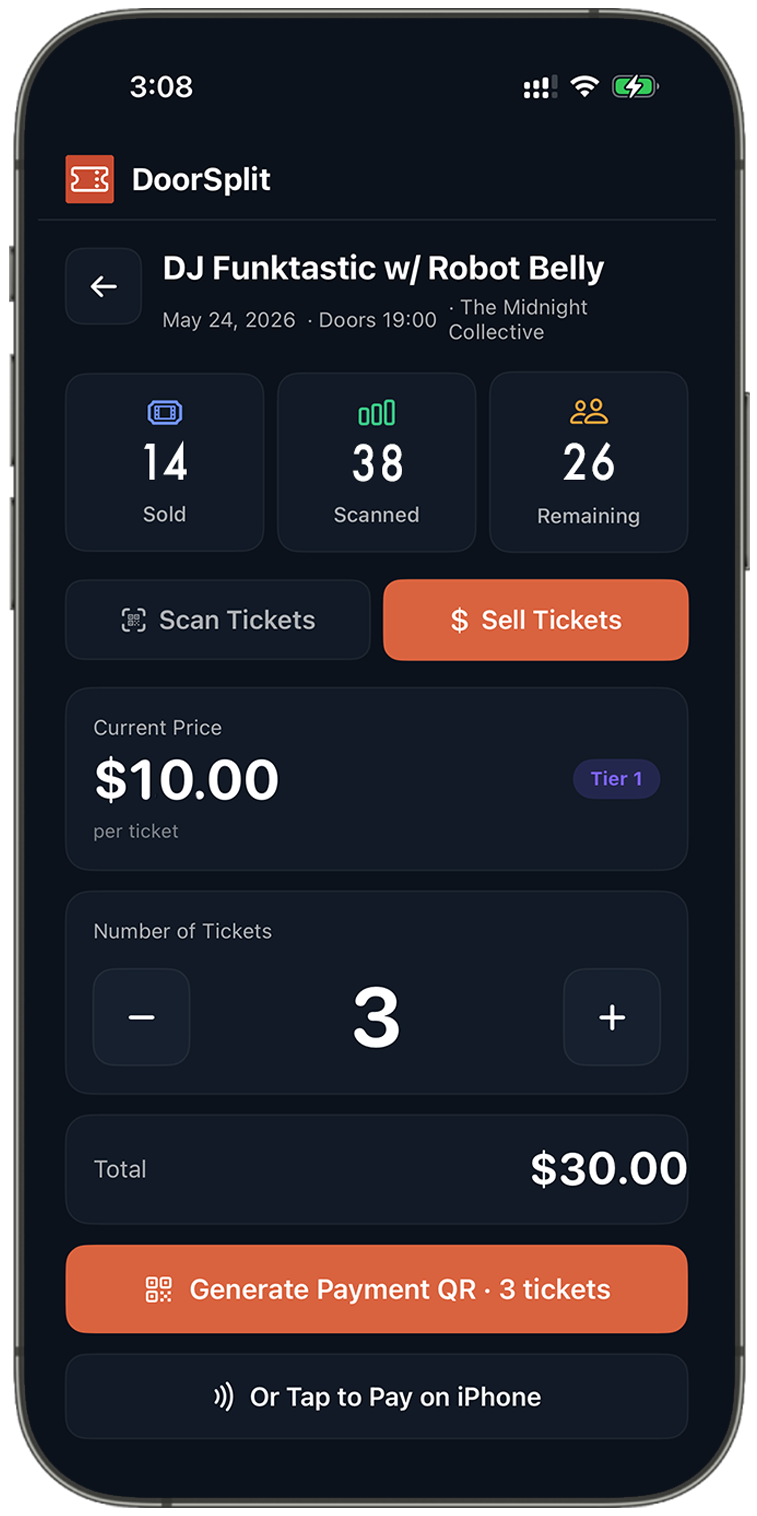
Open Scan tickets and allow camera access. Each scan shows clearly whether the ticket is good, already used, not valid, or— for a group—how many people you should admit.
You can also search by name, email, or ticket ID if someone cannot find their QR code.
For door staff: Selling at the door
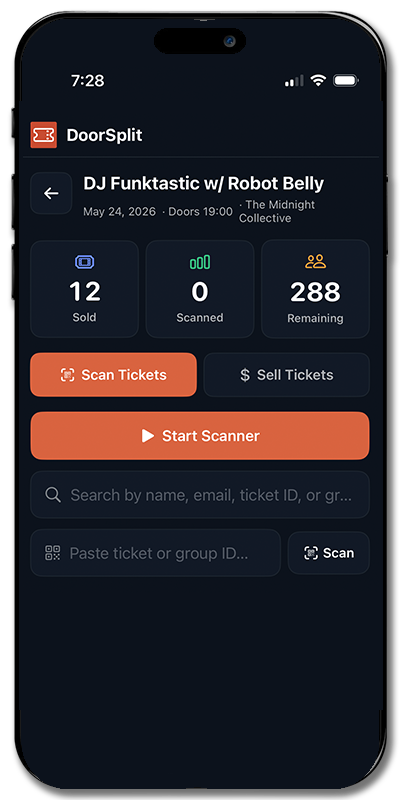
Walk-up sales can work in three ways:
- Tap to pay (contactless) — Choose the number of tickets and use contactless on a supported device so the buyer taps their phone or card. This uses the mobile app. After payment, you can offer a receipt QR if they want one.
- Buyer pays on their phone— Generate a payment QR. They scan with their camera, pay on their device, and you'll see when it's OK to let them in.
- Cash — Choose the number of tickets and use Sold for Cash. You confirm you collected cash; tickets are issued right away. Optionally enter the buyer's email for a receipt; otherwise show them the entry QR on the screen.
Wholesale partners: what they are
DoorSplit can sell through wholesale partners — touring promoters, group-sales agencies, OTAs, subscription desks. You stay in full control of the event, tiers, and pricing; the partner gets a wholesale price (the amount you keep per ticket) on a block of seats.
The partner sells on its own DoorSplit link at any price at or above wholesale and keeps the difference. Every sale runs through DoorSplit— at payout you receive the wholesale amount and the partner receives their margin, automatically. Any block they don't sell returns to your public on-sale before showtime, so you never lose those seats. The partner is emailed the moment you add them.
Organizers: add a wholesale partner
Any DoorSplit organization can be a partner — there's no separate signup. You add an existing org to your event.
- Make sure your partner has a DoorSplit organization (free) and has connected a payout account (Stripe) — their selling link stays inactive until they do.
- Open your event, expand Reseller partners (wholesale), choose Add partner, search for the org, pick a tier and quantity, and set the wholesale price (what you keep). A storefront link is created for them automatically.
- The partner sets their own selling price on that link from their dashboard. The Storefront links tab shows every partner link — and lets you disable or delete one if you ever need to.
You can adjust, release, or remove a partner any time — releasing returns unsold seats to your public pool immediately.
Partners: your storefront
A partner is just a DoorSplit organization added to another org's event. Manage it signed in (your org's Reselling tab) or with a dsk_org_… API key at the partner portal.
For each event you sell you can:
- See your wholesale price and how many seats remain.
- Set your own selling price (at or above wholesale — you keep the difference).
- Copy and share your storefront link. Buyers pay through DoorSplit and you're paid your margin automatically — connect a Stripe payout account first.
Storefront links & promo codes
A partner's storefront link(doorsplit.app/l/your-slug, generated for them) is where they sell. They set the price (never below wholesale); every sale is an ordinary DoorSplit purchase that pays the organizer the wholesale amount and the partner the rest.
Promo codes are a separate, organizer-managed tool: a code buyers type at checkout for a discount, which can optionally credit a commission collaborator (an affiliate who earns a cut of the sales they drive). Total and per-customer usage limits are enforced automatically.
Common questions
A collaborator never connected their bank. What happens to their payout?
Can I add a date or sell tickets on a donation campaign?
Who pays the processing fee on a donation?
I pressed Release now twice. Did donors get charged again or collaborators paid twice?
A buyer says they never got their ticket email. What should they do?
How do cash sales show up for payouts?
The embed widget is blank on my website. What should I check?
script tag. Some site builders strip scripts unless you use an "HTML" or "embed" block. Make sure your organization slug or event ID in the snippet matches your live account. For advanced sites, a strict content security policy might block third-party scripts—your web developer can allow the DoorSplit widget domain. See Embed widget in the docs for the exact attributes.How do I add someone as a door person?
When do payouts arrive after the event?
Can fans buy tickets on their phone at the venue?
I forgot my password or cannot sign in.
Still need help?
Contact the DoorSplit team
For billing questions, stuck payouts, or anything that does not fit the guides above, reach out—we read every message.